
DoxywizardでのVisual Studioドキュメントを自動作成したときの備忘録です。
Doxygenの入手
Doxygenのダウンロード
ここから以下のファイルをダウンロードし、起動します。
doxygen-1.9.7-setup.exe (2023年5月現在)
Doxygenのインストール
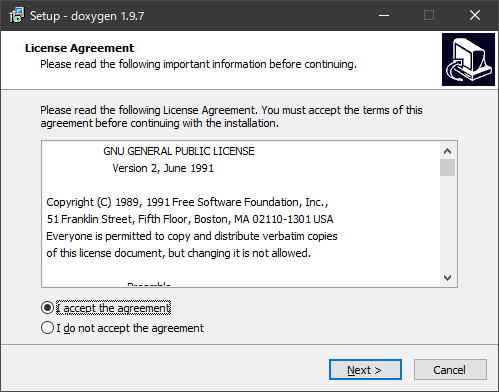
「I accept the agreement」チェックを入れ 、「Next」をクリックします。
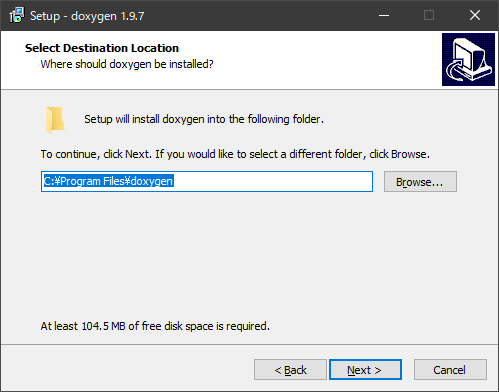
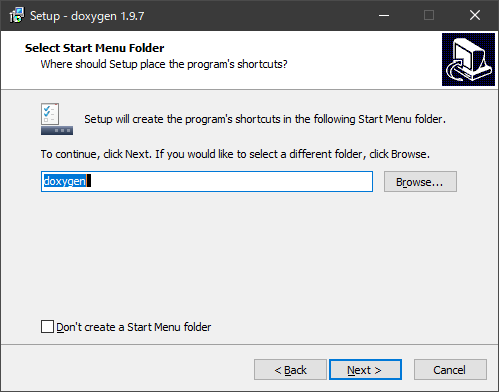
インストールするフォルダを設定し、「Next」をクリックします。
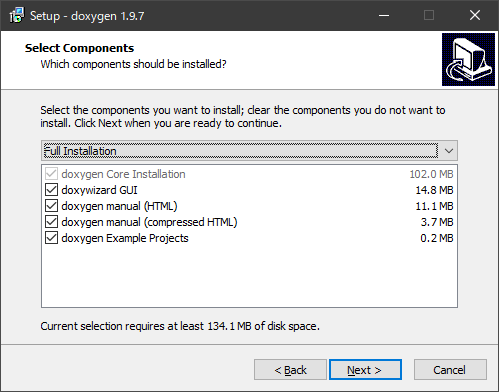
「Next」をクリックします。
「Next」をクリックします。
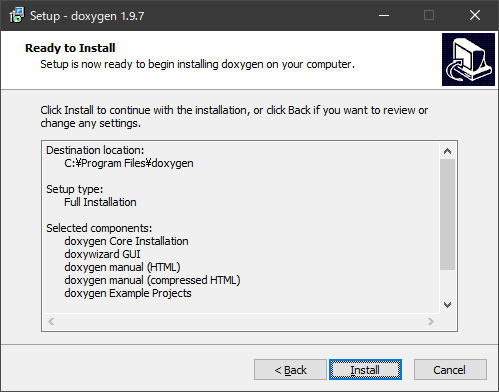
「Install」をクリックする。
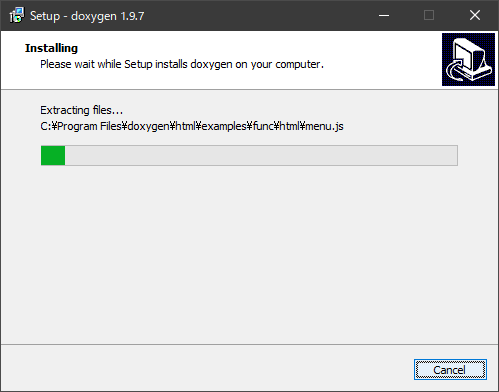
インストールを実行中です。
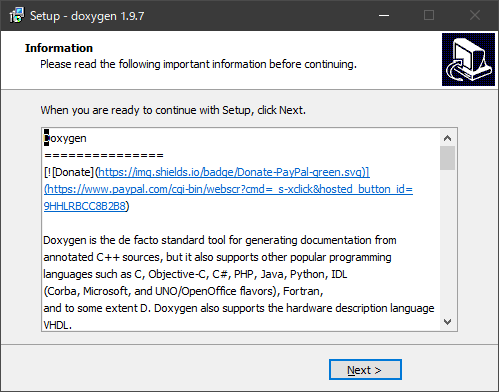
「Next」をクリックします。
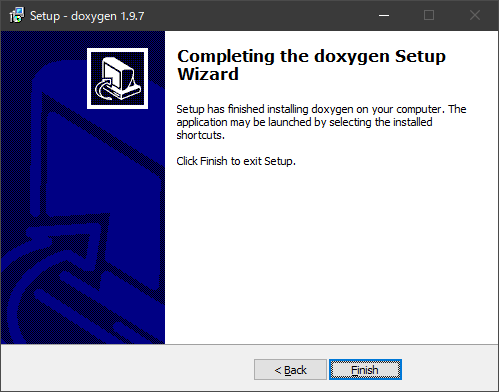
「Finish」をクリックでインストールが完了です。
Doxywizardの実行
「Doxywizard」をクリック起動します。

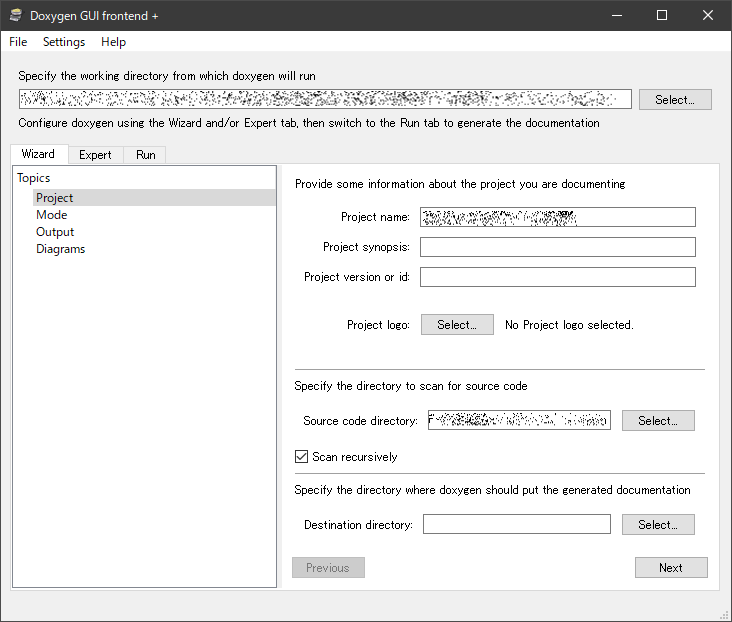
・Specify the working directory from which doxygen will run
doxygen を実行する作業ディレクトリを指定します。
【Wizard】タブ
・Project name:
プロジェクト名
・Project synopsis:
プロジェクトの概要
・Project version or id:
プロジェクトのバージョンまたはID
・Project logo:
プロジェクトのロゴ画像の選択します。
・Project code diectory:
ソースコードがあるディレクトリを選択します。
・Scan recursively:
チェックを入れると下位のディレクトリまでスキャンしてくれます。
・Destination directory:
Docxygenのドキュメント生成ディレクトリです。記入なしで作業フォルダに生成します。
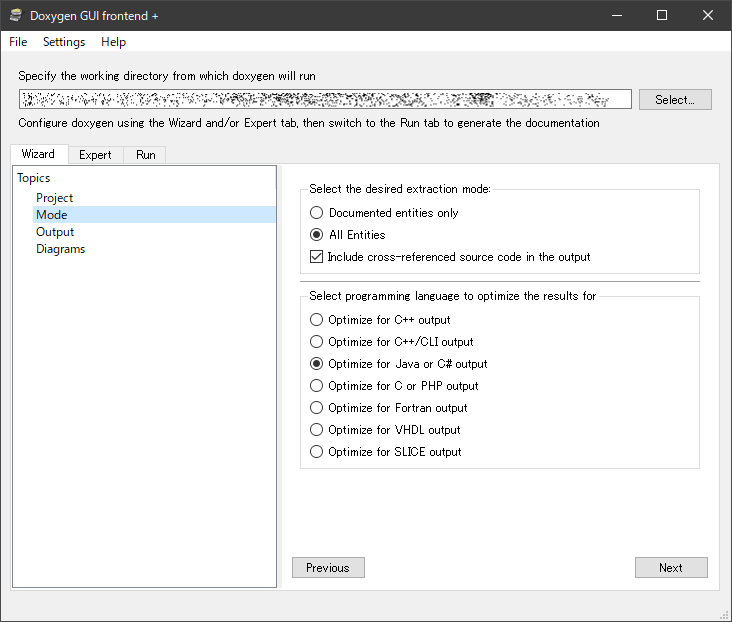
・Select the desired extraction mode:
マニュアルの出力モードを指定します。
・Documented entities only:
Doxygenが識別できるドキュメント文章が含まれているソースコードを対象にします。
・All Entities:
Doxygen 用のソースコードだけでなく指定したディレクトリ内のソースコード全てを対象にします。
・Include cross-referenced source code in the output
相互参照されたソース コードを出力に含めます。
・Select programming language to optimize the results for
プログラミング言語を選択します。
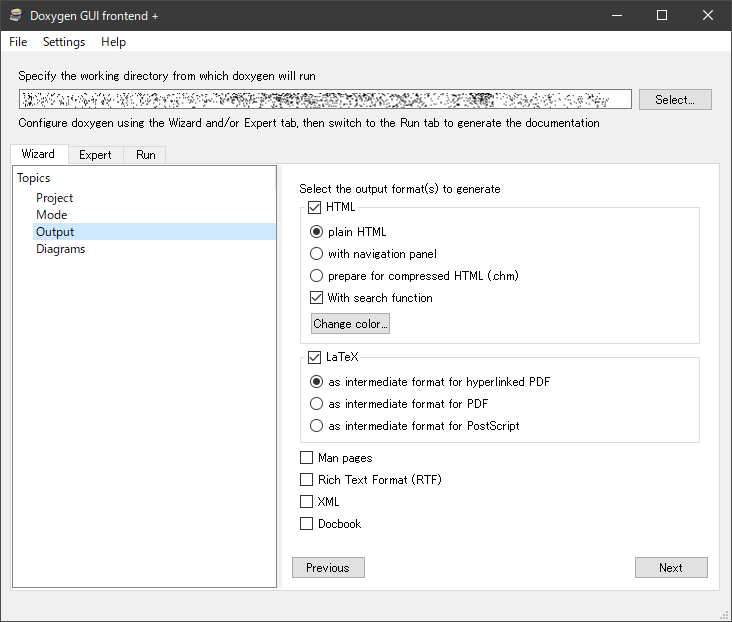
HTML
・plain HTML
シンプルなHTML
・with navigation panel
フレーム付きのHTML
・prepare for compressed HTML(.chm)
コンパイル済みのドキュメントを作ます。
LaTex
文書の組版(文書をきれいにレイアウトしてくれるもので、複雑な数式が得意)システム
使ったことがないのでパス
Diagrams to generate
・No diagrams
クラス図が不要な場合
・Use build-in class diagram generator
クラス図が必要な場合
・。Use dot tool from the GraphViz package
GraphVizという関係図作成ツールで描画する場合

【Run】タブ
設定が終わったら「Run doxygen」をクリックします。
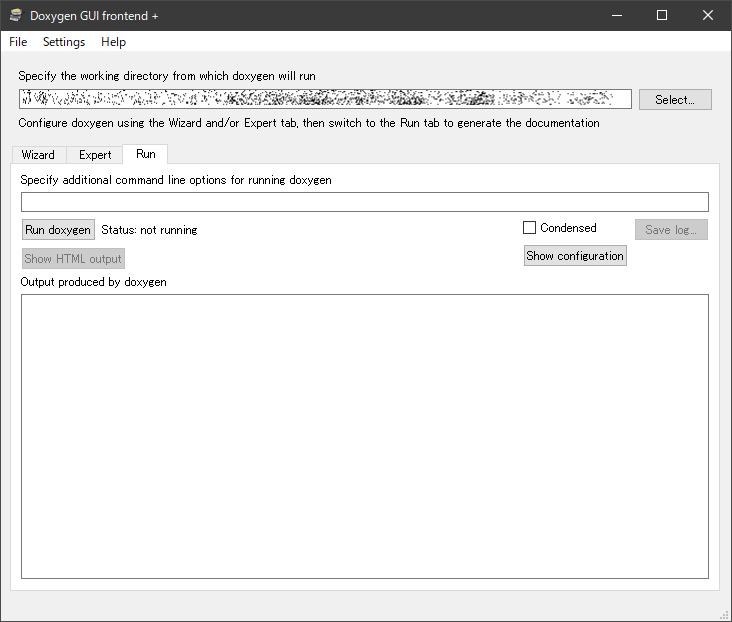
Output produced by doxygenの欄に「*** Doxygen has Finished」が表示されたら終了です。
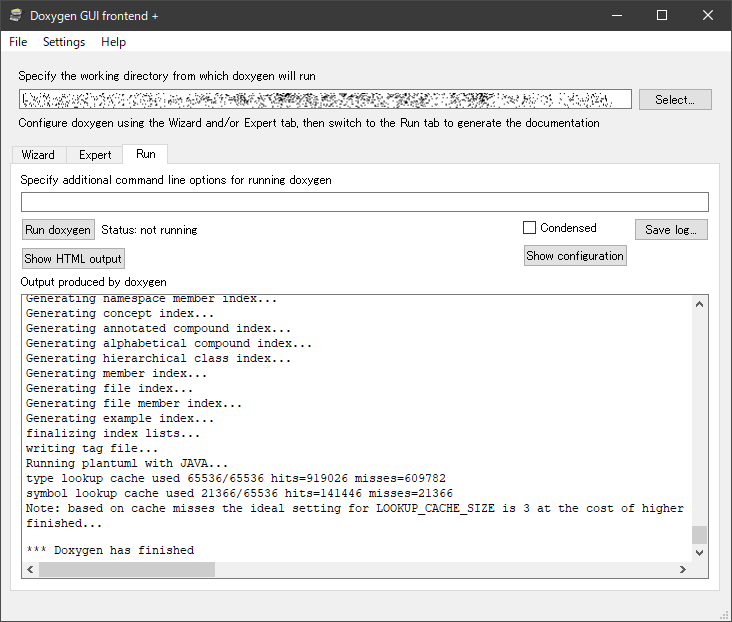
「Show HTML output」を押すと、表示できます。

「File」メニューの「Save as …」で保存しておくと、再起動時に設定を読みだせます。
以上

コメント